Last updated November 20, 2026
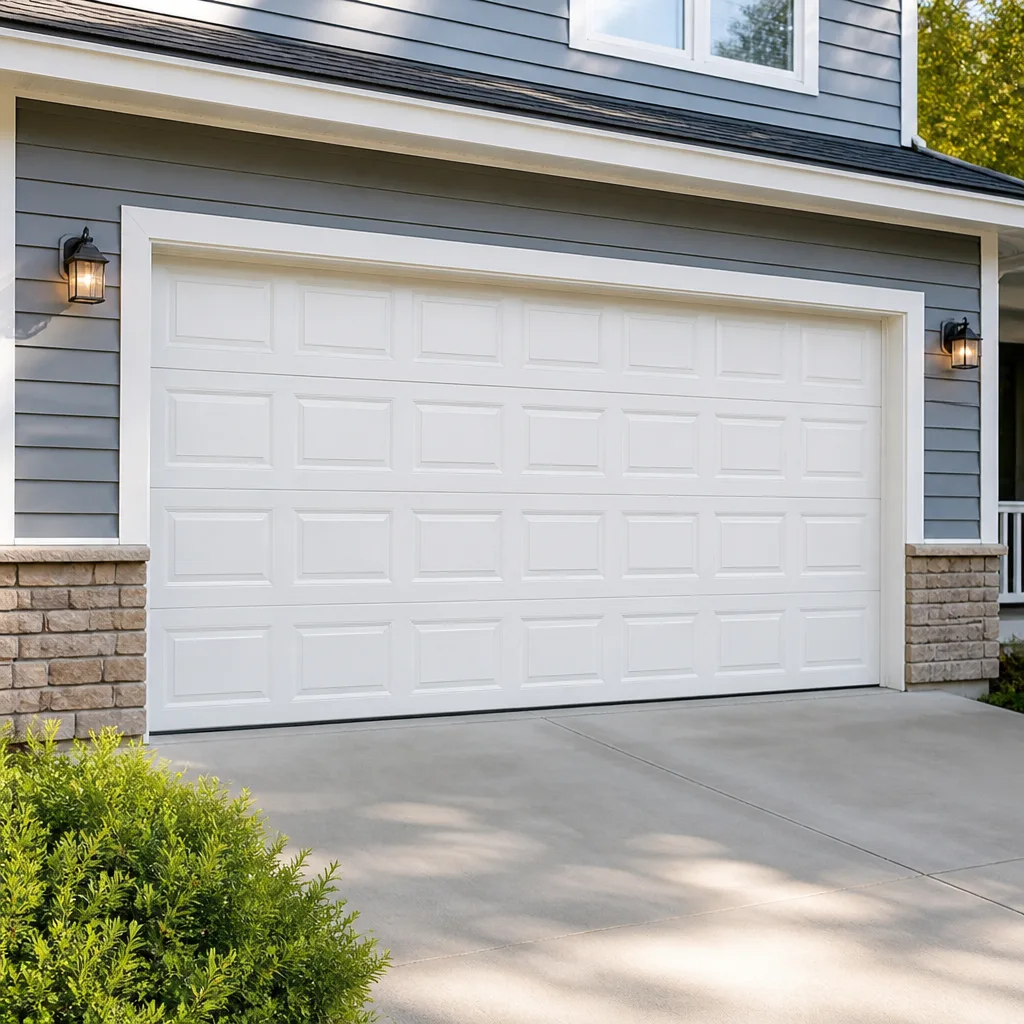 Raised-panel steel
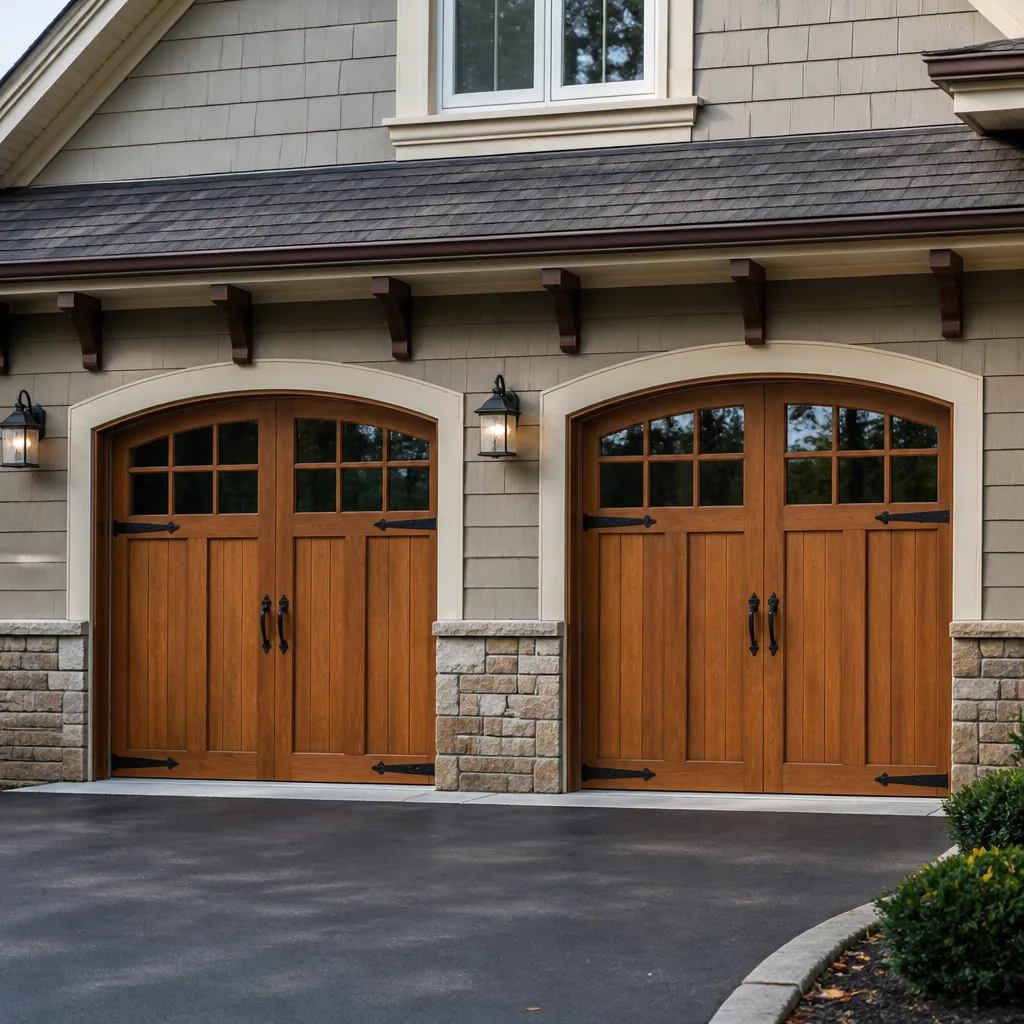 Carriage house
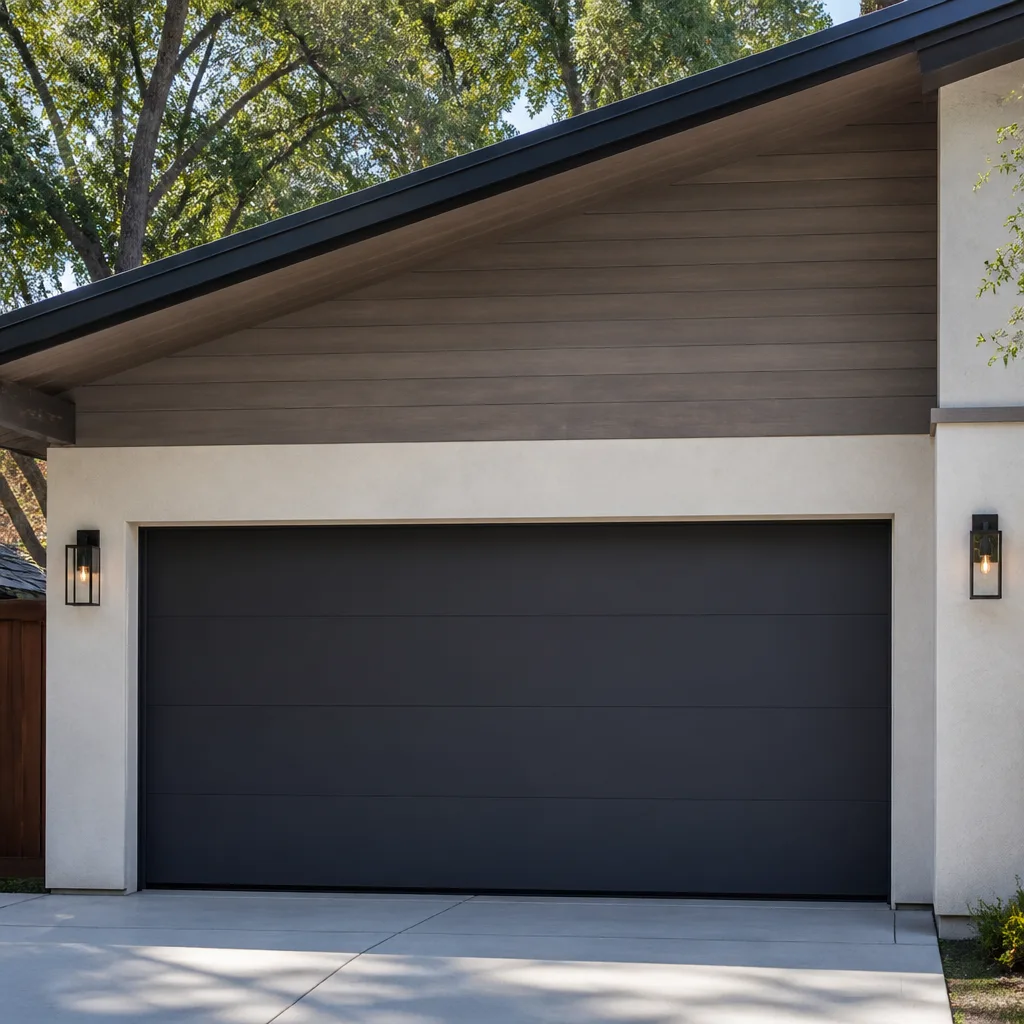 Modern flush
 Full-view glass
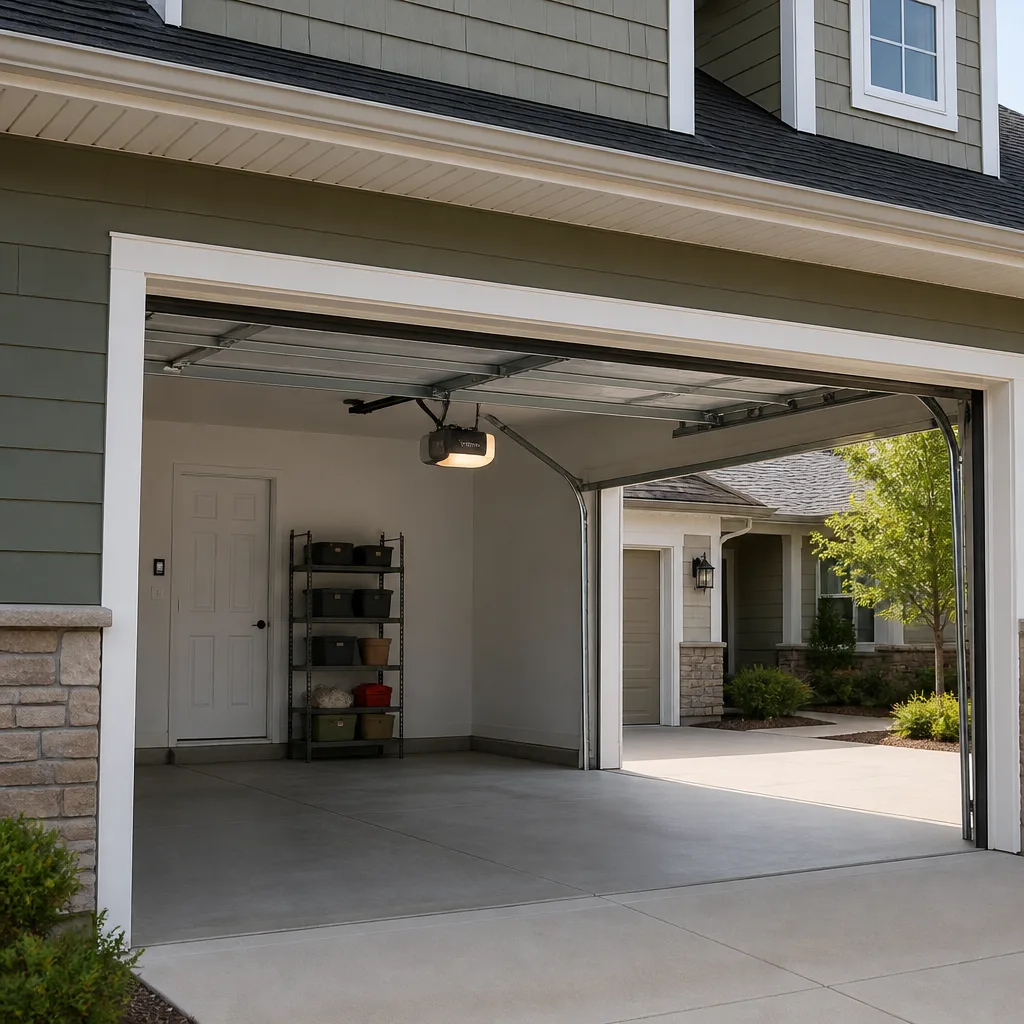 LiftMaster openers
 Chamberlain openers
Full 25-point door and opener safety check with every visit - springs, cables, rollers, tracks, and your LiftMaster or Chamberlain opener included
You get a price before we start. It does not change when the pro arrives.
Get your free estimateGarage Door Repair Maintenance Checklist for Westgate Homeowners
Most garage door advice tells you to “lubricate moving parts” and “test the balance” and then stops there. That’s not useful. You’re standing in your driveway with a can of spray and no idea what a passing result actually looks like, so you either skip the check or convince yourself everything’s fine. A properly maintained door should reverse within two inches of meeting an obstruction, and most homeowners have never once tested that. In Westgate, where temperature swings pull at sensor alignment and winter road treatment works its way into bottom seals, a silent failure is easy to miss until the door won’t close on a cold morning. This guide gives you pass/fail criteria for every check, so you’ll know when to relax and when to call.
Quick Answer
A working maintenance routine for a Westgate garage door covers five things: a monthly safety-reverse test, a monthly visual check of springs and cables, lubrication of rollers and hinges every few months with the right product, a seasonal inspection of the bottom seal and weatherstripping before and after winter, and an annual balance and hardware-torque check. Pass/fail criteria matter more than the schedule itself. If the door doesn’t reverse within two inches of an obstruction, if you see a gap wider than a quarter inch in a torsion spring coil, or if the door drifts more than a foot when you disengage the opener and lift it halfway, stop and call a specialist.
Styles & brands we work with
- Raised-panel steel
- Carriage house
- Modern flush
- Full-view glass
- LiftMaster openers
- Chamberlain openers
Table of Contents
- The Monthly Safety-Reverse Test: What Passing Actually Looks Like
- Spring Inspection: Reading the Coil for Failure Warning Signs
- Lubrication by Component: What to Use, What to Never Use
- Ohio Winter Damage: Road Brine, Bottom Seals, and Bottom Brackets
- The Balance Test and Hardware Torque Check
- A Westgate Seasonal Schedule: October, April, and Midsummer
- Opener-Side Checks Most Homeowners Skip
- Stop-and-Call Triggers: Tasks That Look DIY but Aren’t
The Monthly Safety-Reverse Test: What Passing Actually Looks Like
The safety-reverse test is the single most important monthly check, and it takes about ninety seconds. With the door open, place a roll of paper towels or a two-by-four flat on the ground in the door’s path. Press the wall button to close. A door that passes will contact the object and reverse direction within roughly two inches. A door that keeps pressing, stalls, or barely nudges before reversing has failed. Note that phrase – “roughly two inches” – because it’s the number the industry uses and it’s the number you should hold your door to.
There’s a second safety system most people forget: the photo-eye sensors mounted at the bottom of each track. Those two small lenses should have a clear line of sight to each other, and the indicator light on each should be steady, not flickering. A steady light means the beam is uninterrupted. A blinking light means something’s blocking it – a spiderweb, a leaf, a kid’s toy, or in Westgate’s case, a drift of road grit or a low-hanging branch after a storm.
In colder weather the metal brackets holding the sensors shift slightly as the slab and door frame expand and contract. A sensor that reads perfectly in July can drift a quarter inch out of alignment by January. That’s why the test needs to happen monthly, not once a year. If the door won’t close and the wall button isn’t responding, the sensors are the first place to look – and if realigning them doesn’t solve it, that’s a garage door repair call rather than a sensor problem.
Here’s the pass/fail summary:
- Reverse distance: passes if the door reverses within two inches of contact; fails if it continues past the obstruction.
- Sensor lights: pass if both are steady; fail if either blinks or is dark.
- Sensor alignment: pass if the lenses point at each other directly; fail if you can see the visible light path bending.
- Door travel: pass if the door opens fully and closes completely without hesitation; fail if it stalls or reverses without contact.
Spring Inspection: Reading the Coil for Failure Warning Signs
Springs are the component most likely to fail catastrophically, and the coil gives you a warning before it does. Look at the torsion spring above the door – the horizontal coil on a metal shaft – and check for a visible gap between coil sections. A gap wider than about a quarter inch in the coil means the spring is losing tension and failure is likely. That’s a fail, and it’s a stop-and-call situation rather than a watch-and-wait one. A spring that has already snapped shows an obvious separation and often a small pile of rusty debris on the floor or the top of the door.
On extension-spring doors – the ones with springs running parallel to the horizontal tracks – look for stretch, sag, or a broken spring hanging loose. Both spring types store enormous energy. An amateur who tries to wind or unwind a torsion spring by hand is putting themselves in a real hospital scenario. We’ve seen doors where a homeowner got halfway through a “quick fix” and stopped – the right move at that point is to leave the door alone and call.
Our team handles spring and cable work as a dedicated service for exactly this reason. It’s one of the more technically demanding jobs in the trade, and many general handymen decline it outright because it requires specific winding bars and the know-how to use them safely. If you’re reading a how-to and it reaches the word “wind,” that’s your cue to stop.
What to record on your inspection:
- Coil gap: pass if coil sections are tightly stacked; fail if any gap exceeds a quarter inch.
- Color and rust: pass if the spring is clean with even finish; note if you see surface rust creases, which suggest strain.
- Sound: a sharp snap at any point during operation is a fail; a low creak can be a lubrication issue.
- Balance after failure: never test balance on a door with a broken spring – the door becomes dangerously heavy.
Lubrication by Component: What to Use, What to Never Use
Lubrication is where most homeowner mistakes happen, because the product you grab matters as much as where you put it. The correct standard for garage door hardware is a silicone-based or lithium-white-grease lubricant. These stay put, don’t attract dust the way oil-based products do, and don’t gum up in cold weather. A generic household oil works in a pinch on hinges, but it’s not the right long-term choice.
The biggest mistake is reaching for WD-40 on the springs. WD-40 is a solvent and light penetrating oil, not a lubricant for high-tension hardware. Spraying it on a torsion spring does nothing to protect the coil and can attract grit that accelerates wear. It also does nothing for the springs’ most important safety property: their integrity. There’s no product that makes a spring safer except replacement.
Here’s the component-by-component spec we use:
- Rollers: a few drops of silicone-based lubricant on each roller – not the track itself, which should stay clean and dry. Lubricating tracks attracts dirt and causes the rollers to skid.
- Hinges and pivot points: lithium-white grease or silicone spray at each hinge point, wiped to remove excess.
- Opener rail: check the manual for your brand, but most chain- and belt-drive openers call for a light grease on the rail and the drive screw; screw-drive openers generally need reuse of the existing grease or a specific screw-drive product.
- Springs: a light coat of silicone spray is acceptable but optional; never a heavy grease and never WD-40.
- Bottom seal and weatherstripping: a silicone spray or a thin coat of talc keeps rubber from sticking and cracking.
Once every four to six months is sufficient for most Westgate homes. If your door is louder than it should be after lubrication, the noise is likely a hardware or opener issue rather than a lubrication one. A quick call to a specialist can usually diagnose noise from a description alone.
Ohio Winter Damage: Road Brine, Bottom Seals, and Bottom Brackets
Winter road treatment is a real factor in how your garage door ages. The salt brine and rock salt used on Westgate streets track into driveways and garages with tire spray and boot traffic, and they land on exactly the components that are easiest to overlook. The bottom seal – the rubber strip that runs along the underside of the door – takes the most punishment. When that seal fails, you get water intrusion, a draft, and eventually a rotting bottom section on an older wood door.
The bottom brackets that hold the door’s lift cables at the lower corners are another spot to watch. These are under constant tension and sit close to the ground where brine settles. Surface rust isn’t automatically a failure, but flaking rust, cracked metal, or a bracket that looks deformed is. Treat the visible metal with a rust-inhibiting spray in late fall, before the treatment season starts, and dry the bottom of the door after slushy days when you can.
Cold also changes the bottom seal itself. A seal that’s supple in October can harden and lose its pliancy by February, and a hardened seal doesn’t conform to an uneven driveway slab. You’ll notice a draft near the floor or light visible along the bottom edge. That’s a fail. Replacing a bottom seal is usually an inexpensive fix compared to replacing a rotted bottom panel.
Seasonal winter prep for a Westgate garage door:
- Check the bottom seal before the first hard freeze – press it with your thumb; if it stays compressed instead of springing back, it needs replacement.
- Clear the driveway slab’s seal line of grit and standing water.
- Spray the bottom brackets and metal contact points with a rust-inhibiting product – not a heavy grease.
- Test the safety reverse twice after the first cold snap – sensor alignment drifts in cold weather.
- Clear any snow or ice buildup from the bottom of the door path before opening – a door trying to close on packed ice will strain its opener over time.
The Balance Test and Hardware Torque Check
The balance test tells you whether the springs are doing their job. Pull the red release cord on the opener trolley – you’ll hear a click – and lift the door to about halfway open. A properly balanced door will hold that position with minimal effort. If it drifts down or slams down, the spring tension is off and the door is effectively being lifted by the opener motor alone. That’s a fail. Slowly lower the door back down before re-engaging the trolley.
Never run the balance test on a door with a broken spring – that door has no spring assistance and its full weight will drop. Test it only after a fresh inspection confirms the springs are intact.
The torque check is the hardware part: grab a socket set or a wrench and look for loose hinge screws, loose track brackets, and the mounting bolts on the opener. Loose hardware on a moving door is a vibration source, a noise source, and eventually a failure source. Loose hinge screws are easy to retighten. Loose track brackets – the angle irons holding the vertical tracks to the wall – can affect tracking geometry, and if a track has visibly bent or pulled away from the wall, don’t try to force it back. That’s a repair call.
- Door balance: pass if the door holds position halfway; fail if it drifts.
- Hinge fasteners: pass if all screws are tight and none are missing; tighten anything loose.
- Track alignment: pass if tracks are straight, parallel, and securely attached; fail if bent or pulled from the wall.
- Opener mounting: pass if the rail and motor unit are firmly mounted; fail if any movement is visible when the door operates.
A Westgate Seasonal Schedule: October, April, and Midsummer
A garage door maintenance schedule only works if it lines up with the seasons that stress the hardware. Westgate’s winters are cold and wet, its summers are hot and humid, and the door goes through a real temperature range twice a year. Build your checks around those transitions rather than following a generic monthly rota.
October is your winter prep month. Run the safety-reverse test, inspect the springs, check the bottom seal for flexibility, lubricate all moving parts, clear the bottom brackets of grit, apply a rust inhibitor to exposed metal, and test the balance. If there’s anything you’ve been putting off, this is the moment – a cold-weather failure in January is more expensive than a fall tune-up.
April is the post-winter recovery month. Check the bottom seal and the bottom brackets for brine damage, clear the door travel of grit, retest the safety-reverse and sensors, retest the balance, and re-lubricate. It’s also the right time to look at the door’s outside face for cosmetic wear – paint and finish damage is easiest to address before summer heat bakes it on.
Midsummer is the noise and opener check. Heat expands metal and can change spring tension slightly; a door that was balanced in spring can start running louder in July. Listen for new sounds, check the opener’s force and limit settings, and recheck the balance test.
The rest of the year, monthly checks on the safety-reverse test and sensor lights cover the basics. Two full seasonal tune-ups plus twelve monthly safety checks is a realistic pace for a Westgate household.
Opener-Side Checks Most Homeowners Skip
Most maintenance checklists stop at the door and forget the opener entirely. The opener is a motorized drive system with electronics, and it fails in different ways than the door hardware does. On a LiftMaster or Chamberlain unit the check is often the same logic as on a Genie or a Craftsman – but each has its own force-adjustment procedure, travel-limit settings, and remote-pairing behavior.
Three opener checks belong in the routine:
- The force setting: the amount of force the opener uses to close the door. It should be at the manufacturer’s default unless a technician has adjusted it. Too high and the door can crush an object before the reverse system catches; too low and the door reverses on a slight change in temperature.
- The travel limits: how far the door opens and closes before the opener stops. If the door hits the floor with a thump or reverses well before it hits the floor, the travel limit is off. Most brands have a screw or a set of buttons inside the motor housing unit for this adjustment.
- The connectivity and remote check: replace the battery in each remote roughly once a year, test the wall button, and check any smart or Wi-Fi connectivity features against the app’s status.
Parts failures on openers – a stripped drive gear, a failed capacitor, a dying circuit board – are usually not DIY fixes. If the motor hums but the door doesn’t move, or the door reverses repeatedly at the same point in travel, that’s a garage door opener repair issue. We work on Genie, Clopay, Wayne Dalton and Amarr doors and their openers, and parts availability across multiple brand lines means fewer of those “we’ll need to order that” delays.
Stop-and-Call Triggers: Tasks That Look DIY but Aren’t
Some tasks in this checklist are safe for a homeowner. Some look safe and aren’t. The difference is usually whether the component stores energy. Springs, cables, and bottom brackets under tension are all capable of serious injury, and the tools involved (winding bars, cable clamps) are not household items.
Here’s the honest stop-and-call list:
- Any spring adjustment: winding, unwinding, or replacing a torsion spring is a specialist job. A wound spring holds enough force to break bones or worse.
- Any cable work: cables hold the door’s weight alongside the springs; snapping one during an amateur fix is a common injury pathway.
- Bottom bracket work: the bottom bracket carries both lift cables and is under constant tension.
- Track realignment after a bend: bending a track back into shape can distort it permanently and cause the door to jump its rollers.
- Opener force adjustment above factory settings: only adjust downward, and only to the factory default.
- Panel replacement on a door with a broken spring: the door has no counterbalance and is dangerously heavy.
On the other side of that line, these are homeowner-safe: lubrication, visually inspecting springs and cables, testing the safety reverse and sensors, checking the bottom seal, tightening hinge screws, and replacing remote batteries. Two categories, two very different levels of risk. If you’re ever unsure which category a job falls into, treat it as a stop-and-call and get a professional opinion first.
Common Mistakes to Avoid
- Spraying WD-40 on the springs. It’s a solvent, not a spring lubricant, and it does nothing to protect the coil from wear. Use silicone spray if you lubricate at all.
- Lubricating the tracks. Track grease collects grit and causes rollers to skid instead of roll. The tracks should stay clean and dry.
- Skipping the safety-reverse test because it feels fine. A door with misaligned sensors can feel normal on the wall button and still fail the reverse test. The test is the whole point.
- Testing the balance on a door with a broken spring. That door has no counterbalance – lift carefully and, if you suspect a snap, don’t test at all.
- Ignoring the bottom seal through winter. Westgate road treatment settles on the bottom of the door, and a hardened seal lets in water and cold before you notice it’s failing.
- Setting the opener force too high to “fix” a struggling door. If the door is struggling, the opener force is masking a door problem. Raise force above factory settings and you’ve removed a safety layer, not fixed the door.
- Treating “noisy” as normal. A grinding or popping door usually needs a repair rather than more lubrication. If the noise is new, that’s the signal.
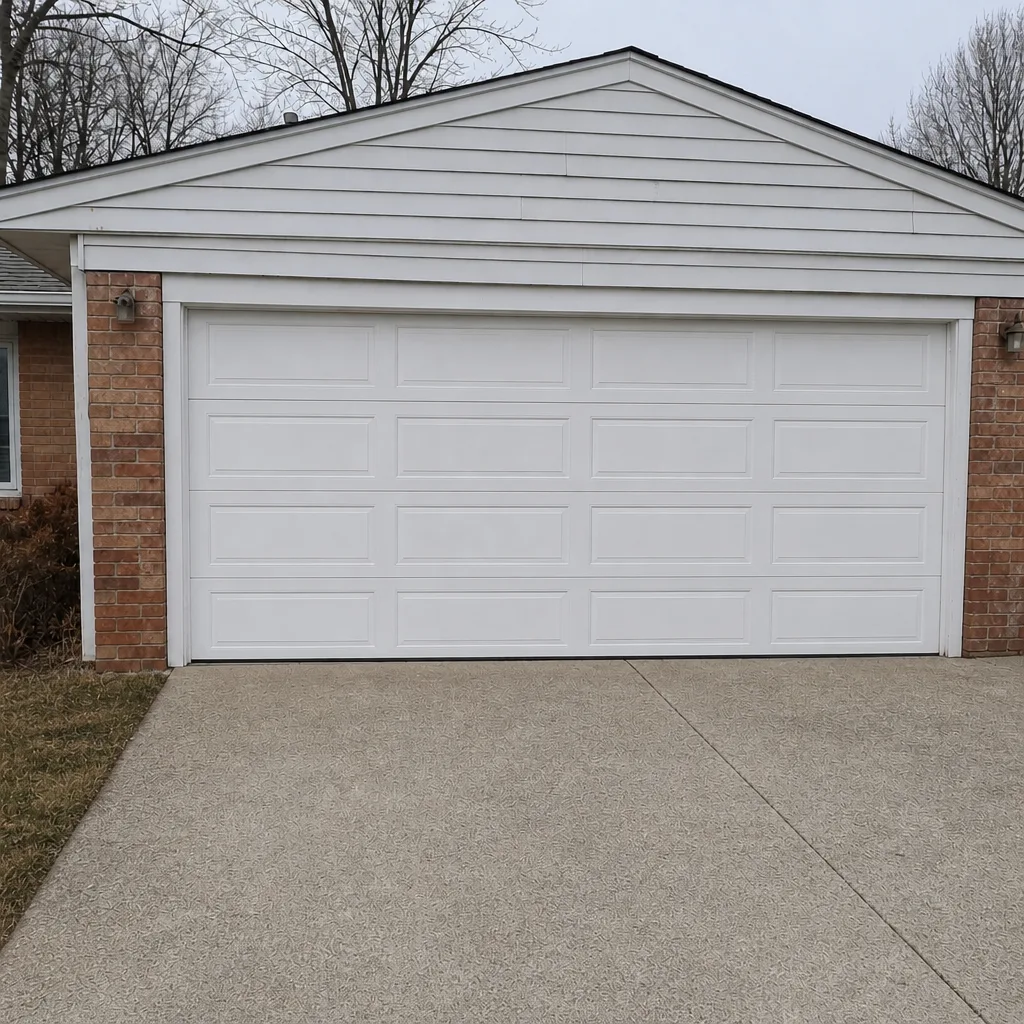
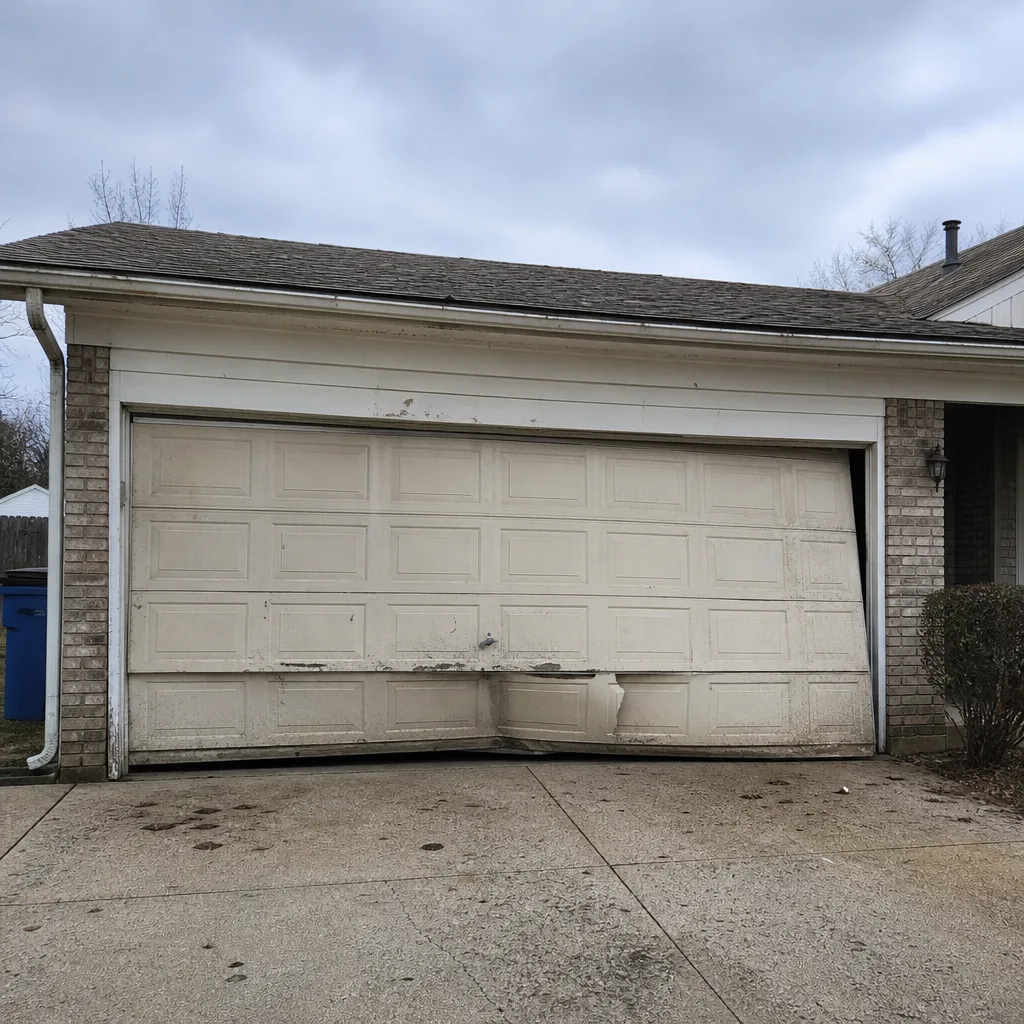
See the difference
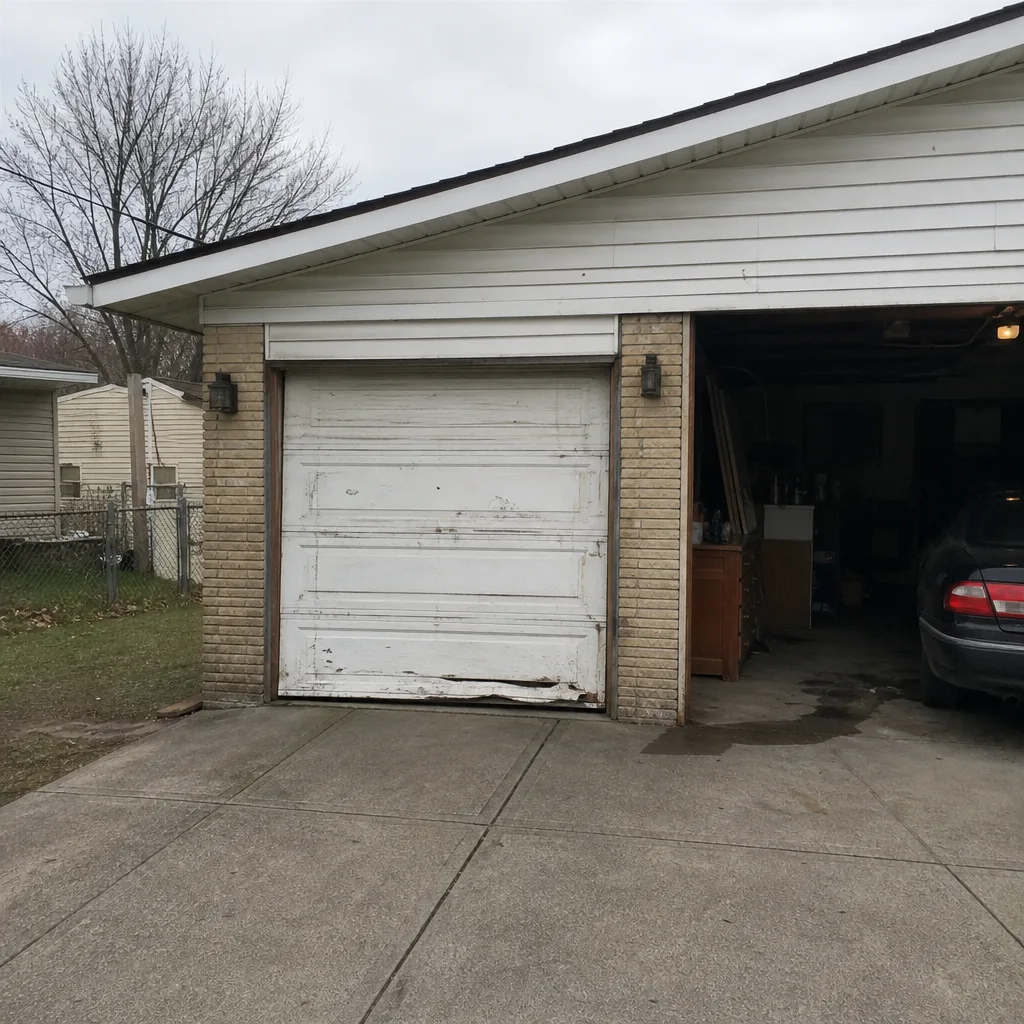 Before
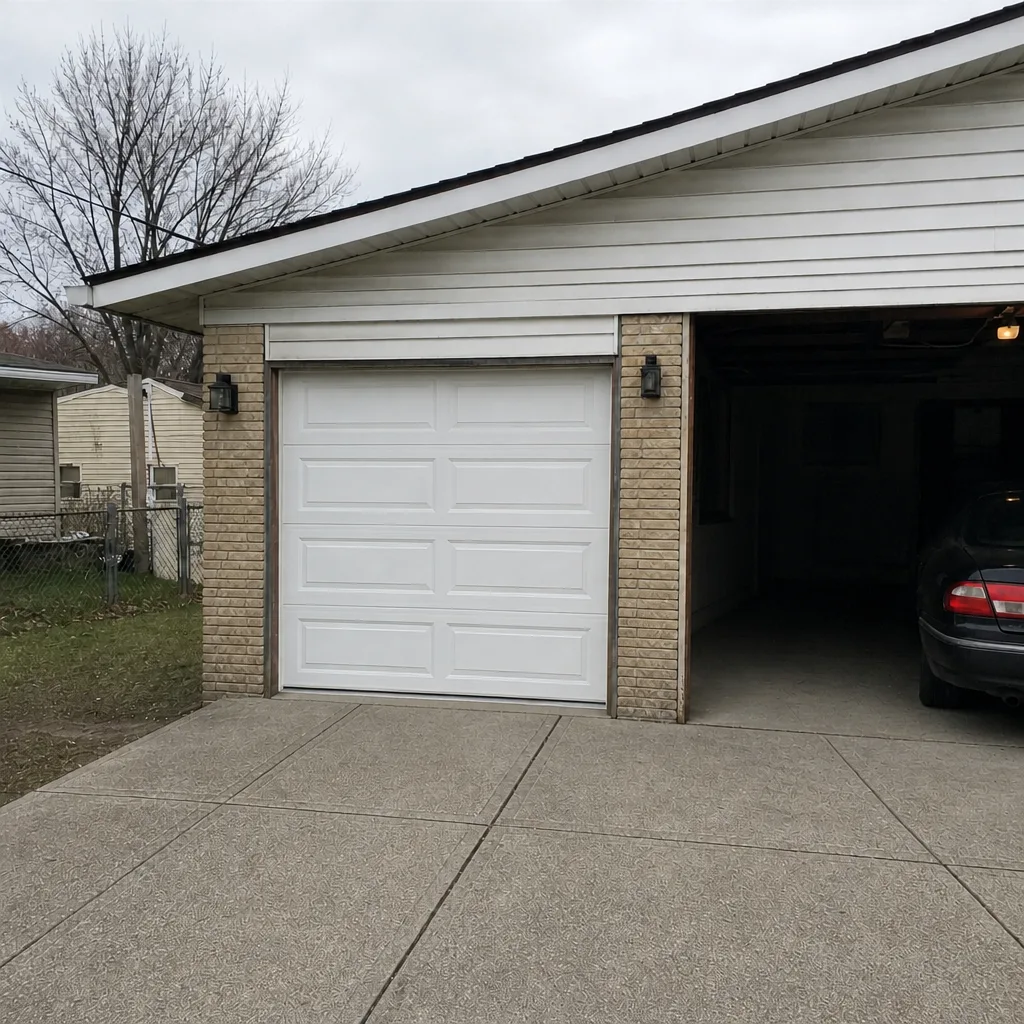 After
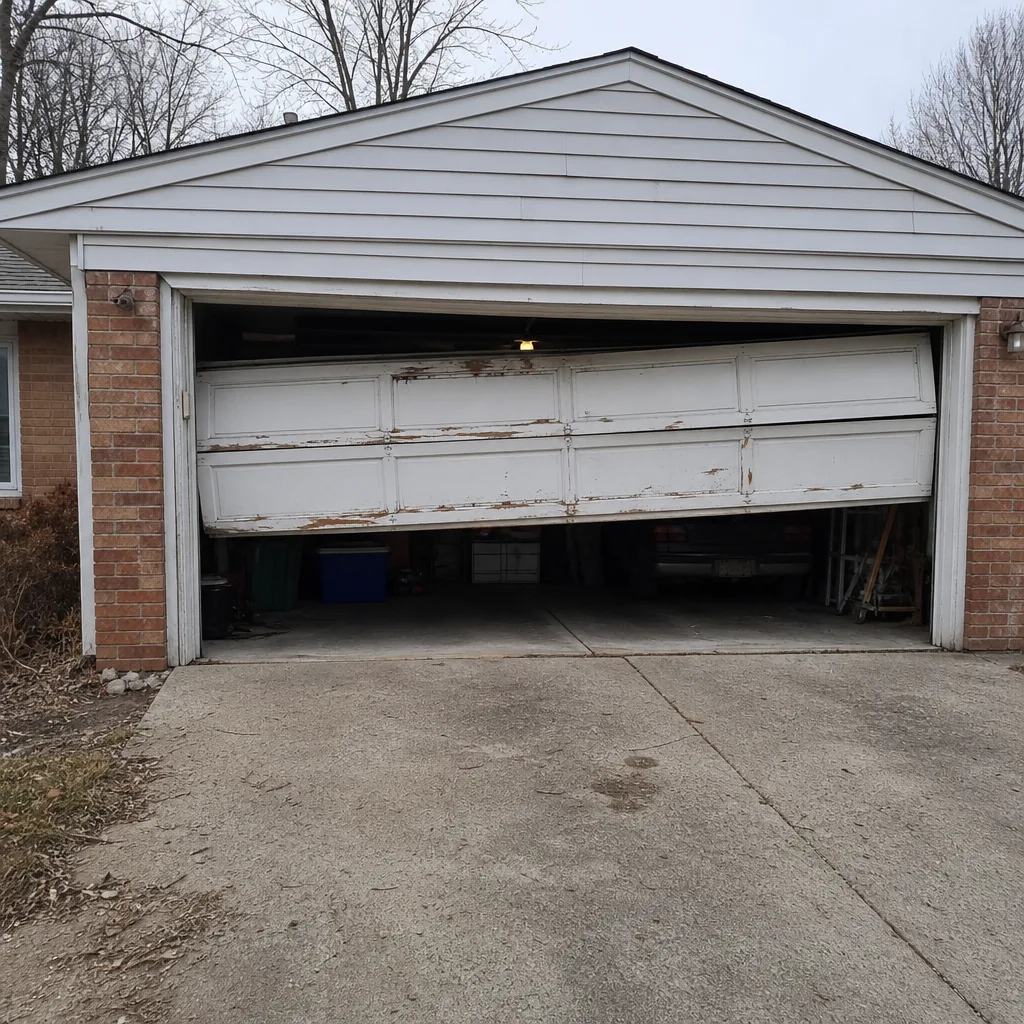 Before
 After
 Before
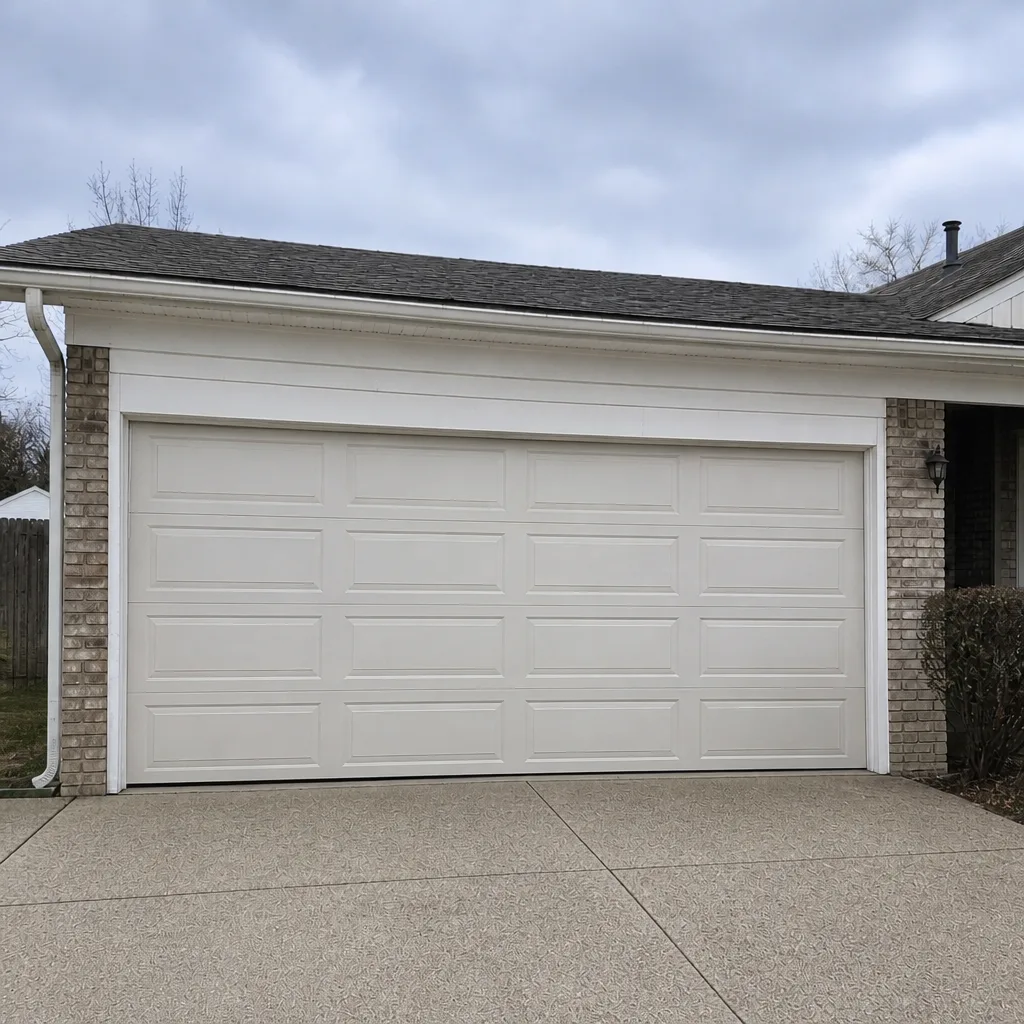 After
When to Call a Professional
Call a specialist the moment any check gives you a fail, not at “some point next month.” A failed safety-reverse test, a reverse that reverses on its own, a spring with a coil gap wider than a quarter inch, a snapped spring, a cable that looks frayed or slack, a bent track, a door that drifts in the balance test, or an opener that runs without moving the door – each of those is a call. Some of them are also safety issues you shouldn’t run past, whichever side of the driveway you’re standing on.
The other reason to call rather than wait is that a small repair and a full replacement call are very different conversations. If a door is failing in more than one way – a worn panel plus a failing opener plus an aging spring – the question becomes garage door installation rather than a repair sequence. We’ll tell you which one makes sense for your door, what brand choices fit (Clopay, Amarr, Wayne Dalton and Raynor all appear in Westgate driveways for good reasons), and what a new door would and wouldn’t change about your maintenance routine. Garage Door Repair Westgate offers free estimates in Westgate – call (844) 263-6149.
Frequently Asked Questions
Every four to six months for most Westgate homes, using a silicone-based or lithium-white-grease lubricant on rollers and hinges. Don’t lubricate the tracks, and never use WD-40 on the springs. If you live with significant winter road treatment exposure, a light lubrication pass in late fall and again in spring covers the seasonal extremes.
Usually yes, and it’s the first thing to check. A blinking sensor light or a visible obstruction in the beam’s path explains most self-reversing doors. If realigning the sensors doesn’t fix it, or the sensors look fine and the door still reverses, the issue is likely in the opener’s limit settings or the door’s travel – that’s a call for a technician. Call (844) 263-6149 for an exact quote; estimates are free.
Look at the torsion spring’s coil above the door. If the coil sections are tightly stacked, it passes the visual check. A gap wider than about a quarter inch in the coil means the spring is losing tension and failure is likely – that’s a fail. A snapped spring shows a clear separation and usually a pile of debris. Spring tension adjustment and replacement are both professional jobs; don’t attempt them yourself.
Press it with your thumb. A supple seal springs back; a seal that stays compressed, feels hard, or shows visible cracks needs replacement. In Westgate the seal is also exposed to road treatment carried in on tires, which accelerates rubber decay. Check it before the first hard freeze and again in spring.
Yes. Our technicians work on LiftMaster, Chamberlain, Genie, Clopay, Amarr, Wayne Dalton, Craftsman and Raynor equipment, so the brand-specific service details are handled in-house rather than referred elsewhere. Our technicians have up to 9 years of experience. If you’re unsure which you have, a photo of the opener and the door label is usually enough to identify it.
Most of it, yes. Lubrication, the safety-reverse test, visual spring and cable inspection, bottom seal checks, tightening hinge screws and replacing remote batteries are all homeowner-friendly. Anything involving spring tension, cables, bottom brackets, or bending a track is not. If a check gives you a fail on one of those, that’s a call rather than a project. Call (844) 263-6149 for a free estimate; the written quote sets the price before any work starts.
The Bottom Line
The checklist is only useful if it tells you when to stop, and that’s the difference between this routine and the generic “lubricate moving parts” advice. A failed safety-reverse test, a spring coil gap over a quarter inch, a sagging balance test, a hardened bottom seal, a bent track – each one is a specific signal with a specific response. Homeowners who run the safe checks and call on the unsafe ones come out ahead: their doors last longer, their openers last longer, and they skip the driveway emergency. For anything on the stop-and-call list, get a specialist on it.
If you’d rather have the whole checklist done by someone who works on your brand every week, call Garage Door Repair Westgate at (844) 263-6149 for a free estimate. We handle repair, opener service, spring replacement, parts, and full installation across LiftMaster, Chamberlain, Genie, Clopay, Amarr, Wayne Dalton, Craftsman and Raynor – one call covers the whole door.
Written by the team at Garage Door Repair Westgate.